How to Make a Loft Bed Sturdy
If your loft bed is wobbling or unstable, there are a few things you can do to fix it.
First, check the bolts and screws on your frame.
If these are secure, then your loft bed will not wobble. Another thing that can cause your loft bed to wobble is humidity in the room.
Make the Poles Stronger
To make your loft bed more sturdy, you must make the poles thicker and stronger. This will ensure that your loft bed is not wobbly, even when sleeping on it.
One of the best ways to do this is by adding bracing near the bottom or middle of your vertical poles. This will help to stop your loft bed from shaking when you are asleep, and it will also provide more protection for your mattress.
Another great way to make your loft bed sturdier is by replacing the legs or posts with thicker ones. The thickness of the legs will also increase the overall sturdiness of your loft bed, as it can support more weight.
Alternatively, you can add shelves to the legs, which will also contribute to the sturdiness of your bed. This is an excellent option if you have limited space in your home, as it will not only provide extra storage but will also enhance the sturdiness of your loft bed.
You can also install feet on your bed poles with a wider surface area than the actual posts. This will maximize the contact surface between the bed poles and the floor, ensuring that your loft bed is more stable.
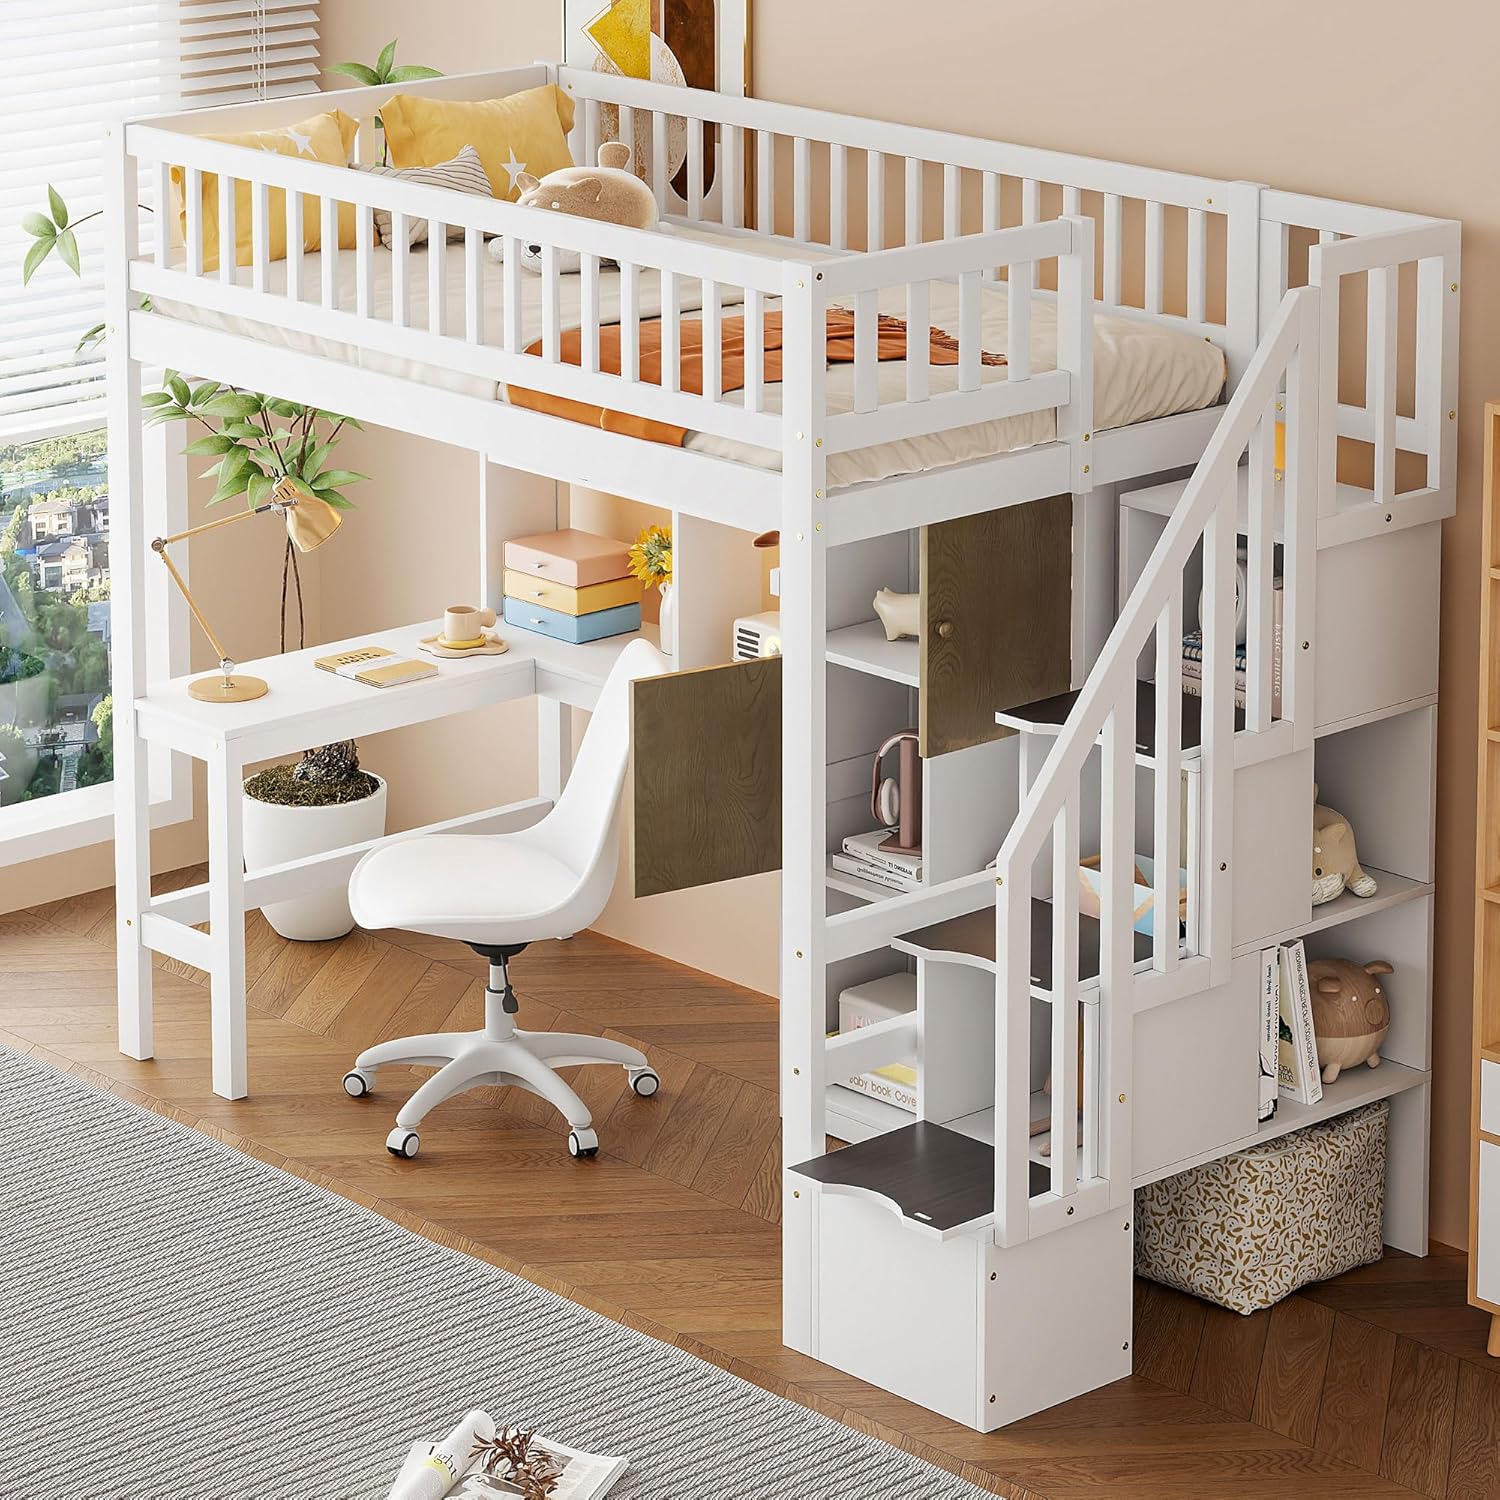
If you have a modern apartment, you can even use a loft bed to create a functional sleeping space and desk combination.
This design shows how you can turn a small bedroom into a comfortable sleeping area and workspace with simple materials.
Avoid Bed Jumping
A loft bed is a safe way to add extra sleeping space and storage. It is common in college dorm rooms and shared spaces, like kids’ bedrooms.
But they can also be dangerous if you’re not careful.
Many people jump on top of their loft beds, which can cause them to become unstable. This is because the legs of the bed can sometimes be too skinny.
To make your loft bed more sturdy, you need to ensure it is anchored to the wall properly. To do this, you must secure it to the studs in your wall using special lag screws.
You can use a stud finder to locate the studs in your wall and then drill into them.
After you have secured your loft bed to the studs, you need to ensure that all the pieces are tightly tightened down.
It is also important to check your wood frame regularly for moisture levels. If the humidity in your home is too high, your wooden frame can swell and loosen its joints, making it less stable.
This is especially true for wood frames exposed to excess moisture in the past. You can prevent this problem by putting a dehumidifier in your room or using a wooden frame with moisture-resistant materials.
Secure It to the Wall
If your loft bed is wobbling, you can make it sturdier by securing it to the wall. The best way to do this is to use a stud finder and mark the studs where the bed base will sit against the wall.
Once you know where the studs are, attach metal bunk bed brackets specifically designed to fit around the posts of a bunk bed.
These rounded pipe-looking brackets are found at specialized hardware stores and on Amazon. You will need a drill that will go through metal to attach them.
However, if you don’t have a drill that goes through metal, you can still secure the bunk bed to the studs in the wall using traditional wall lag screws.
Another way to secure a metal bunk bed is by using square U brackets specially made for this purpose. These brackets can be attached to the wall studs similarly to the rounded U brackets, but they are sturdy.
You can replace your loft bed’s legs with thicker ones or build shelves onto them. This will enhance the sturdiness of the frame and mattress, making it feel less wobbly.
Securing a Loft Bed to the Wall
Securing your loft bed to the wall can provide additional stability and safety.
Here’s how you can do it:
Materials Needed
- Drill
- Screws
- Stud Finder
- Level
- Pencil
Procedures
Step 1: Prepare Your Tools
Before starting, ensure you have all your tools ready for use.
Step 2: Locate the Studs
Using a stud finder, locate the studs in your wall where you plan on attaching the loft bed. Mark these locations with a pencil.
Step 3: Position Your Loft Bed
Position your loft bed so that its frame aligns with the marks you made indicating the stud locations.
Step 4: Check for Level
Use your level to ensure the bed is perfectly horizontal before securing it to the wall.
Step 5: Drill Pilot Holes
To prevent splitting wood, drill pilot holes through the frame of your loft bed and into the studs of the wall.
Step 6: Secure the Loft Bed
Finally, using suitable screws, secure your loft bed to the wall at each pilot hole location.
Please note that while securing a loft bed will generally increase its stability, it is important to continue observing safe usage guidelines such as not exceeding weight limits or allowing rough play on the structure.
Also, this advice may not be applicable for every type and model of loft bed as designs may vary greatly. Always consult with professionals or refer to the manufacturer’s instructions if unsure.
Add a Railing
If you have a loft bed, you want it to be as sturdy as possible. You don’t want your child to get hurt in a fall; you also want it to be safe for you when you’re sleeping.
This can be done by adding a railing to your loft bed.
If your loft bed is tall, you might want to add a railing that goes up to the ceiling. This will make it easier for you to climb on and off of it without hurting your back or neck.
The type of railing you choose will depend on your personal preferences and the size and style of your loft bed.
For example, if you’re an aggressive sleeper who tosses and turns at night, you might want a railing that’s as sturdy as possible so that it doesn’t get damaged or knocked down.
You’ll also want to think about how you will use the space under your loft bed. Some people like to use the space for storage.
This is especially true if you’re living in a studio apartment with limited floor space.
Another option is to use the space as a desk or workspace. This can be a great solution for students who need a place to work or study in college.
Add a ladder to the top bunk to make a loft bed even more sturdy. You can build this with pipe fittings. This design used traditional threaded pipe fittings, but you could also use Kee Klamp fittings to make the job easier.
Adding a Railing to a Loft Bed
Adding a railing to your loft bed is an important safety measure, especially if children frequently use the bed.
Here are the steps to add a railing to your loft bed:
Materials Needed
- Measuring tape
- Pencil
- Hand saw or circular saw
- Power drill with bits and screwdriver head
- Sandpaper (medium and fine grit)
- Safety glasses and gloves
- 2×4 lumber for rails (quantity depends on the size of the bed)
- Screws suitable for wood of at least 2 inches
Instructions
1. Measure Your Loft Bed
Measure the length and width of your loft bed where you plan to install the railings. This will help you determine how much lumber you will need.
2. Cut Your Rail Pieces
Based on your measurements, cut your 2×4 pieces to fit around the perimeter of your loft bed where you’re adding the railing. You’ll need two longer pieces for the top and bottom and several shorter ones for vertical posts.
3. Sand Your Pieces
Sand all edges of your cut pieces to remove any splinters or rough edges using the medium, then fine-grit sandpaper.
4. Pre-drill Holes into Rails
Pre-drilling holes into your rails helps prevent the wood from splitting when you insert screws. Align one shorter post piece at each end of your longer rail pieces, forming an ‘H’ shape, and pre-drill through both pieces according to where you would place screws.
Repeat this process until all railings have been pre-drilled.
5. Attach Rails
Position one bottom rail flush with the edge of the loft bed platform, then secure it with screws through pre-drilled holes into the loft’s frame, ensuring it’s sturdy before proceeding.
Fix vertical posts onto this bottom rail at equal intervals, then attach another long piece as the top rail creating a fence-like structure around when done correctly.
Always wear safety glasses when drilling or cutting wood, as flying debris could cause injury! Be careful not to over-tighten screws, or else they may cause cracks in the wood!
Now that’s it! You’ve successfully added a railing around your loft bed, ensuring safety without compromising aesthetics!
Do Monthly Bed Frame Checkups
Performing monthly checkups on your loft bed can help keep it sturdy and prevent it from becoming wobbly over time.
These periodic tune-ups should include tightening each bolt or screw on the frame to ensure it remains secure.
Another reason your loft bed may wobble is if one of the posts is too loose.
This is common with many types of bunk beds, but it can also happen with other styles of beds that use metal or wood frames.
If you suspect a loose post is the culprit behind your wobbling bed, try replacing it with a new one. You can replace hollow metal posts with solid ones to make the bed sturdier.
It’s also important to inspect the frame of your loft bed for creases or other signs of wear and tear. This will allow you to fix any problems before they become dangerous.
Sometimes, a loose or broken bolt is the only thing causing your loft bed to wobble. This is particularly true of beds that are used for storage purposes.
You can check for any loose screws or bolts by gently leaning on the poles with both hands.
If you’re not sure how to tighten the nuts or bolts on your loft bed, there are several tools that you can use. For example, you can buy a torque wrench from your local hardware store. This tool will help you to measure the tightness of your loft bed’s bolts.
Other tips to make your loft bed more stable are to install a railing around the frame.
This will provide more support to the legs and reduce the chances of your loft bed becoming unstable.
Tips On How to Make a Loft Bed Sturdy
Materials Needed:
- Solid wood (2×4, 2×6, or 4×4)
- High-quality plywood for the base of the bed
- Screws and bolts
- Power drill
- Level
- Saw
Steps:
- Design your loft bed: Make sure you have a clear idea about what you want your loft bed to look like before starting.
- Use strong materials: Choose solid wood over composite materials because it is stronger and more durable.
- Cut precisely: Measure twice and cut once! Precision in cutting will ensure all parts fit together as they should.
- Assemble on-site: It might be best to assemble the loft bed in the room where it will be placed, as this can help ensure that the bed fits perfectly.
- Reinforce joints with screws and bolts: Use long screws or bolts rather than nails for assembling parts as they provide more stability.
- Double-check alignment with a level: Ensure that all elements are horizontal and vertical by using a level tool while assembling; this will prevent any wobbling or instability later on.
- Add additional supports if necessary: For extra support, consider adding diagonal braces at the corners of the frame or additional legs in the middle of longer beams.
- Secure railings: Especially if a child will use this loft bed, secure railings are essential for safety.
- Reinforce ladder connection points: The ladder needs to hold weight repetitively, so ensuring its joints are strong is crucial – use heavy-duty screws or bolts here too!
- Regular inspection & maintenance: Keep an eye on your loft bed over time; tighten up any loose screws/bolts periodically to maintain sturdiness.
Remember, safety should be paramount when constructing a loft bed – particularly when it’s being built for children or young adults.