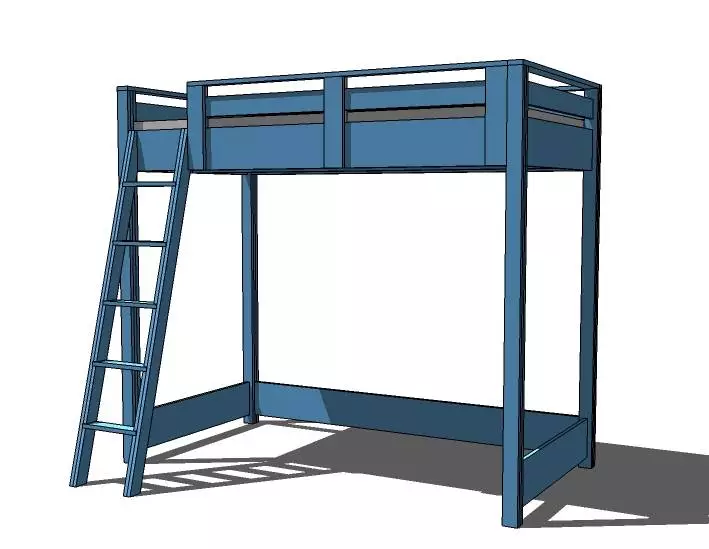
How to Build a Loft Bed
Building a loft bed is a great way to save space in a small bedroom.
It also gives you a place to set up a desk or dresser.
If you want to add some additional functionality, consider putting a sofa underneath your loft bed and using the empty space below as an extra room.
Before you start, make sure you have the necessary tools and materials. Please read the whole article before starting.
You may have to make adjustments according to your personal needs and the space available for your project.
Here’s a general set of instructions to help you get started.
Materials:
- (4) 4×4 Posts, 7 Feet Long
- (2) 2×6 Boards, 8 Feet Long
- (2) 2×6 Boards, 6 Feet Long
- (8) 2×4 Boards, 6 Feet Long
- (12) 1×4 Boards, 8 Feet Long
- 3-inch Wood Screws
- Wood Glue
- Sandpaper
- Paint or Stain (Optional)
Tools:
- Saw
- Drill
- Measuring Tape
- Level
Steps:
- Measure and Cut the Wood: Measure and cut your 4×4 posts to the desired height of your loft bed. Remember to factor in the thickness of your mattress and the height of your ceiling.
- Build the Bed Frame: Assemble the 2×6 boards into a rectangle, with the longer boards on the side. This will be the frame for your mattress. Screw these together using your wood screws.
- Attach the Posts: Attach your 4×4 posts to each corner of your bed frame. Make sure they’re level before you secure them with wood screws.
- Install Support Beams: Halfway up your 4×4 posts, install a 2×4 board on each side. These are your support beams.
- Install the Mattress Slats: Install the 1×4 boards across the frame to support your mattress. Space them evenly across the frame and secure them with wood screws.
- Sand and Finish: Sand down any rough edges and then paint or stain your loft bed as desired.
- Add a Ladder: For easy access, you can also build a ladder using 2x4s for the sides and 1x4s for the rungs.
Remember, these are general instructions.
Depending on your room size, mattress size, and personal preferences, you might need to adjust some measurements or materials.
Always make sure to measure twice and cut once, and ensure that everything is level and sturdy before moving on to the next step.
Safety should always be your first priority when building anything.
Mattress Support Boards
A mattress support board can help your mattress stay firmly in place.
These boards can be made from various materials, including plywood and fabric, and can be used on various bed types and sizes.
The type of foundation your mattress needs depends on the size, weight, and durability of the mattress you have.
Some mattresses, such as memory foam or latex, need a firmer foundation than others.

- Level, Sturdy, and Strong Design that supports an ADULT.
- Step by Step and easy directions with diagrams for every step.
- Designs to make for both Standard & XL Twin; Full; Queen; and King sized beds.
- Continued Technical Support from The (WoodPatternExpert); 20 Years of Experience!
- Complete Materials List & Pattern Dimensions that use the least $ of bldg. material!
Last update on 2026-07-15 / Affiliate links / Images from Amazon Product Advertising API
A slatted foundation is the best option for most standard memory or latex foam and hybrid mattresses. Slatted bases provide support for a mattress and also add height.
However, slats can interfere with the movement of airflow through your mattress. Slats should be no more than 2.75 inches apart.
Other options for mattress support include bunkie boards and plywood sheets.
These are easy to find and can be purchased at many furniture, mattress, and even big box stores.
Plywood is more affordable than a bunkie board but requires measurement and trimming to fit your mattress.
Plywood is a moisture-resistant material, but it can develop chips and cracks over time that can cut into your mattress.
Bunkie boards are typically 2 inches thick and are used with a bed frame to support your mattress.
They can be made from various materials and come in different styles and sizes, including traditional box springs, bunky boards for bunk beds and platform beds, and even ultra-strength versions made with a metal interior.
If you want a cheaper and less expensive alternative to a bunkie board, consider placing a solid sheet of moisture-resistant plywood under your mattress instead.
This option is easy to do, but you need to make sure your mattress and frame measurements are exact.
Side Rails
Side rails are a must-have for any loft bed, and can be used to prevent children from falling out of their beds. These rails can be simple or elaborate, depending on your preferred style.
You may want to consider installing a ladder for easy access to the loft bed, or you might decide that you would rather not install a ladder and instead build a simple stair platform.
If you choose to build a ladder, you must first measure the width of your bunk. You must subtract 3 inches from this measurement for the side rails.
This will leave you with a safe and sturdy width to which you can cut the wood.
Next, mark the tops of the side rails so they are flush with the vertical support posts to which they will be attached.
Use a tape measure or a laser level to position each piece correctly.
Repeat this process with the other side rail against the other support post, checking that the marks match up before cutting the sides.
Once both rails are cut, attach them to the support posts with screws.
Then, add a safety step by attaching one of the 2×4 end rails to each of the support posts at the same elevation as the side rails.
This will transfer the weight of the mattress onto the longer board of each leg, preventing it from sagging.
Assemble the loft bed once the side rails are securely attached to the support posts. This may take several hours.
The most important thing is to ensure that every board is properly leveled before attaching it to the bed frame.
You should also pre-drill holes and countersink them before driving the screws into the support posts. This will help hide the heads of the screws and prevent damage to the wood.

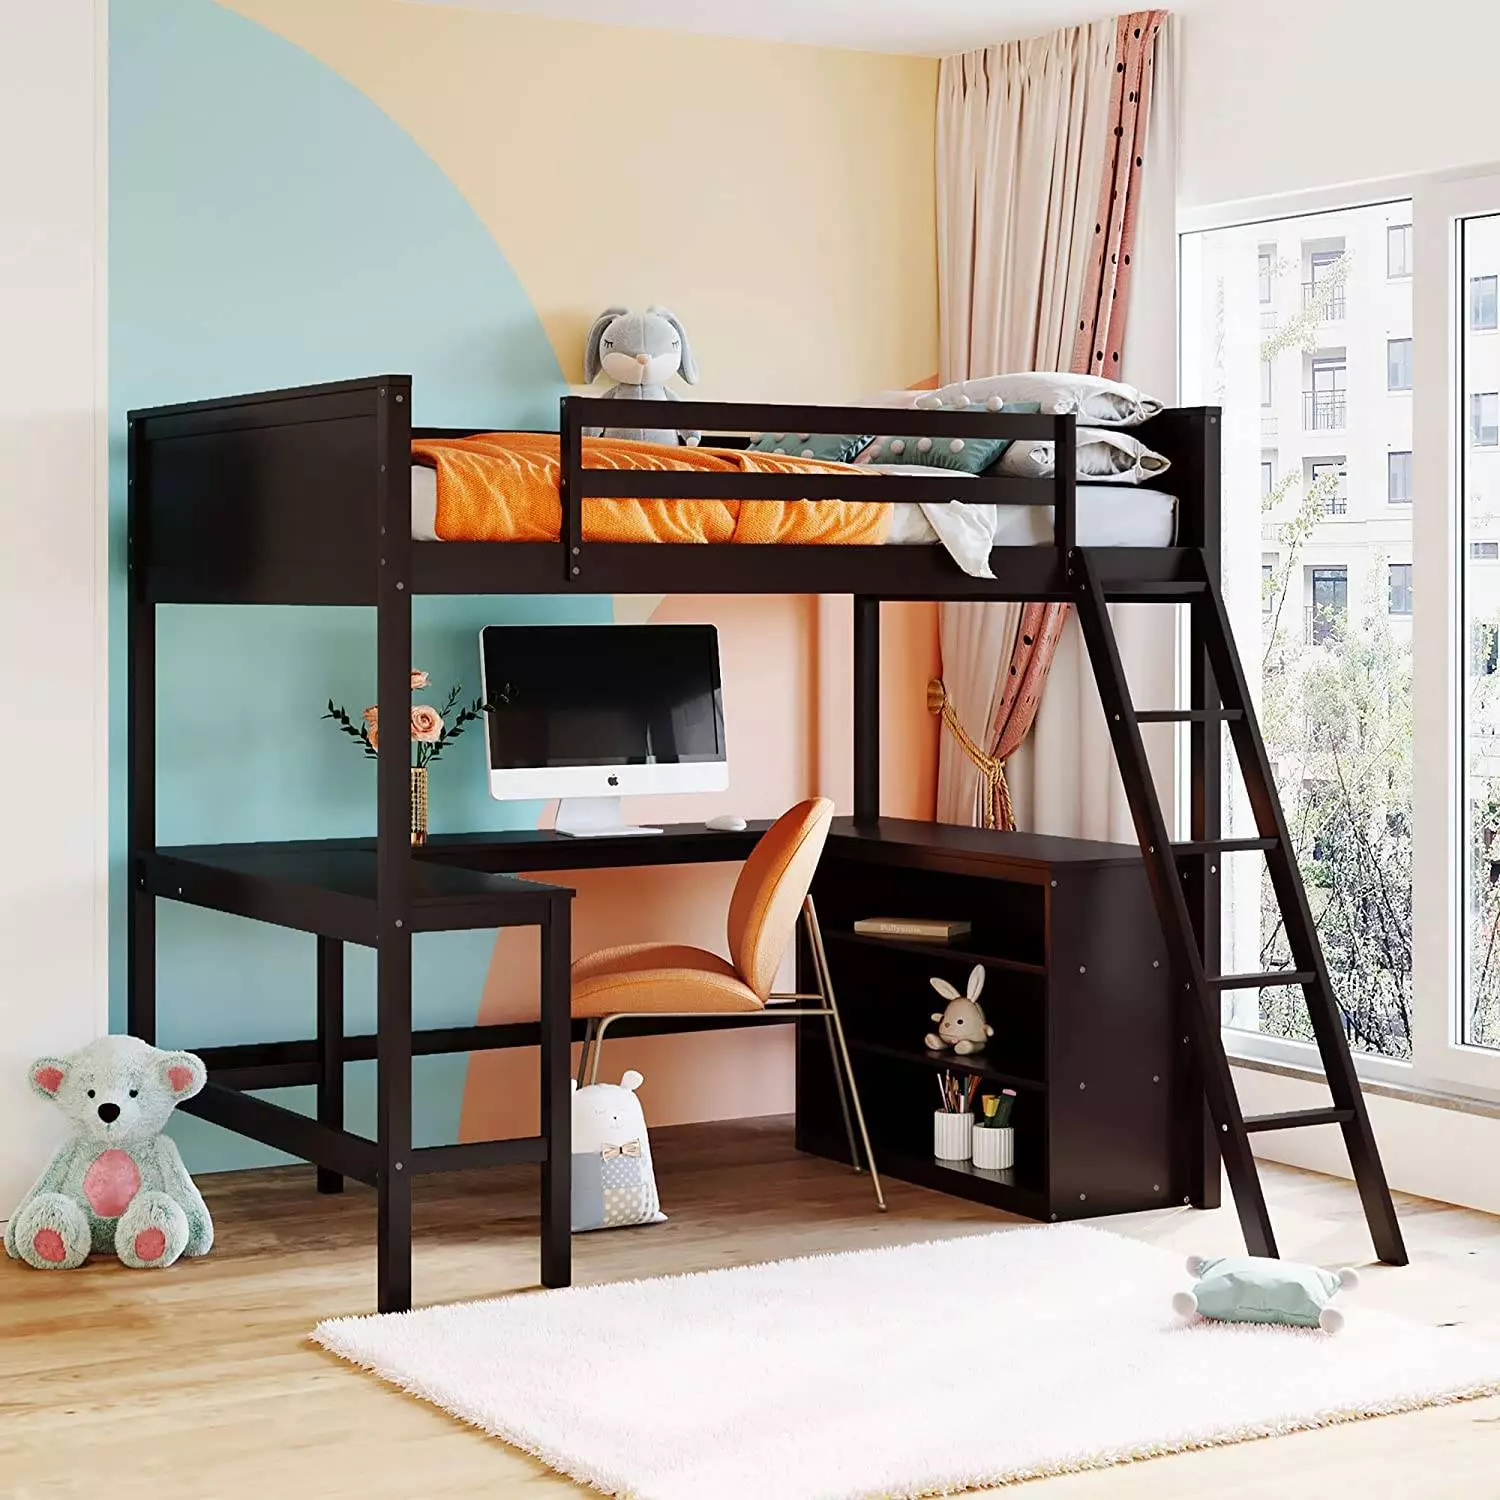
- SMALL SPACE APPROVED This compact loft bed is ideal for any small living spaces including bedrooms and dorms
- TRENDY LOOK Designed with modern flair, add a touch of style and functionality to your bedroom; The integrated desk and shelves offers ultimate versatility
- SAFETY AND SUPPORT Sturdy metal frame, upper guardrails and 2 ladders (on the side and front) ensures added support and safety
- DIMENSIONS & WEIGHT LIMITS; 80 Length x 57.5 Width x 72 Height inches; Weight Limits: 300 pounds (bed) and 50 pounds (desk)
- EASY TO ASSEMBLE; Ships in 1 convenient box for stress free handling and easy to assemble
Last update on 2026-07-15 / Affiliate links / Images from Amazon Product Advertising API
End Rails
End rails provide additional support for the upper bed frame, making it less wobbly.
They also help prevent the bed from swaying side to side and keep your mattress from sliding off of the sides.
You can easily create end rails using wood planks or solid wood lumber, such as cedar.
These planks are easy to cut to size and will add an extra layer of protection for your loft bed’s legs and top frame.
Start by cutting the two end pieces to 80 1/2” in length.
You can use 2x4s, but it’s better to use 2×6 boards since they’ll be able to handle more weight.
Place the two end pieces against the shorter legs and attach them with screws. Then, repeat this process with the other leg set.
A great way to keep kids safe is to install guardrails around the entire loft bed.
You can find these at any hardware store. These rails will keep your child from rolling off the bed or falling out.
While these rails will make your loft bed safer, they can also cause your bed to shake. You may need to put a piece of wood under the rail to prevent it from moving.
Another great tip for making your loft bed feel sturdier is to install feet on the bedposts. These feet will increase surface contact with the floor and strengthen your bed’s legs.
You can find these at most hardware stores and major retailers. They’re inexpensive and simple to install.
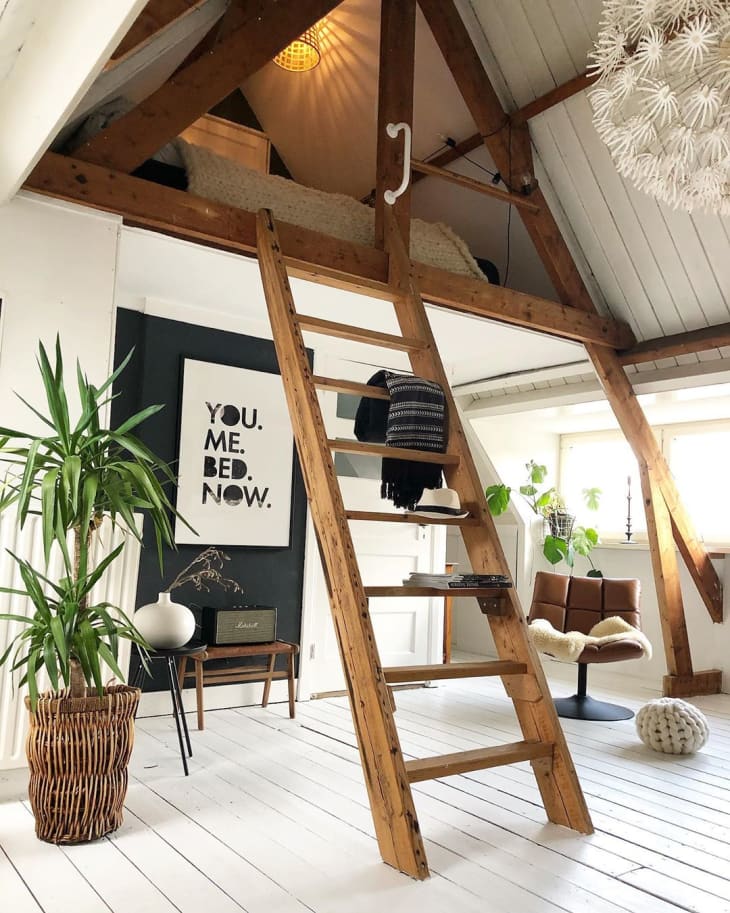
The bunk bed featured above was built primarily from wood, but it used fittings and pipe for the ladder and safety railing up top.
To build a similar look, you can use Single Socket Tee, Flange, and 90 Degree Elbow fittings to attach the ladder and railing up top.
Ladder
Whether you want to add extra storage space or make your bedroom a bit more functional, a loft bed is an excellent solution.
It can serve as a desk, dresser, or reading nook in one room while also providing the bed you need to get a good night’s rest.
To begin, mark the angled foot on two of the two-by-sixes.
Next, use a straightedge to connect these marks and make two corresponding lines on both two-by-sixes.
Once you have done that, cut each of the two-by-sixes to 19 inches in length.
Then, cut the steps (or treads) of the bunk bed ladder from the third two-by-six using an electric miter saw.
If you have a jigsaw, you can cut the steps at a 90-degree angle, but if you don’t, you can still do it this way.
If you are a bit unsure, you can try using a circular saw and cutting a few test cuts before making the final cut with the jigsaw.
After you have cut, thoroughly sand the ladder and all of its edges to smooth out any jagged edges.
This will help the ladder to fit and look its best.
After you have sanded the ladder and its edges, you can paint it or stain it if you want to change its appearance.
You can also put on a protective clear coat, which will help protect it from moisture damage and scratches.
Stairs
Building stairs is a challenging project that requires skill and patience.
But if you’re willing to put in the time, you can make durable and long-lasting stairs.
Stairs consist of three main parts: stringers, treads and risers.
Each part of the stair is crucial to its function and looks.
The tread is the horizontal piece that connects each stair step, while the riser is the vertical space between steps.
Each piece of a staircase must be cut to size before you can install it.
To determine the number of stringers, risers, and treads you need, measure your stairs’ total height (rise) and length (run). Then multiply these numbers together.
When you’ve got your stair measurements, mark them on your header board.
Fasten the top of your stringers to this board with L-angle joist hangers, ensuring that each one’s edge is flush with the face of the rim joist on your deck or floor joists in your house structure.
Once the joist hangers are attached to the rim or floor joists, affix the skirt boards to the bottom of the stringers using 2-inch screws.
Afterward, square the stairs by matching the measurements between the opposite corners of the stairs at the top and bottom.
You’ll also need to consider the height of the stair landings.
This is where the weight of your children will be carried, so it’s important to build the landing as strong as possible.
To make the stairs, use 1 x 3 lumber to build the treads.
You’ll need 7 treads to complete a standard bunk bed set.
Good luck with your project!